Nov, 19, 2026
A parking lot lighting installation usually fails for boring reasons: a pole set a few feet off the photometric grid, a fixture chosen for looks but not cutoff, or a circuit that cannot carry the inrush. The practical rule is to lock the layout, foundation, and electrical scope before buying luminaires. Once those are fixed, fixture selection becomes a straightforward match to mounting height, code, and maintenance access.
Content
Parking lot lighting installation is a system. The goal is not maximum brightness; it is safe visibility, even coverage, and no glare into drivers' eyes or neighboring windows. Most sites need average illuminance and uniformity values from a photometric layout, not a catalog page. A common planning check is spacing of about 3 to 5 times mounting height, but that is a starting point only. Final spacing must follow the luminaire's optics, pole height, and local code. A lot with mature trees, snow storage, or a sloped entrance may need a tighter grid and different aiming.
| Mounting height | Typical use | Planning check |
|---|---|---|
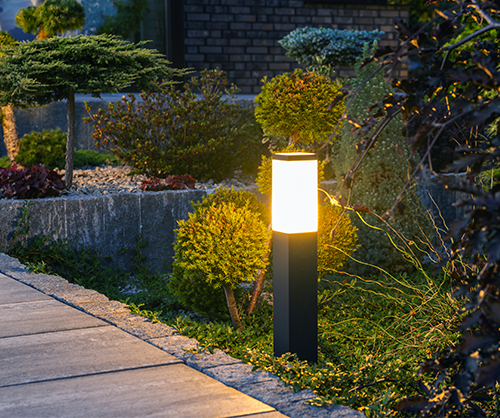
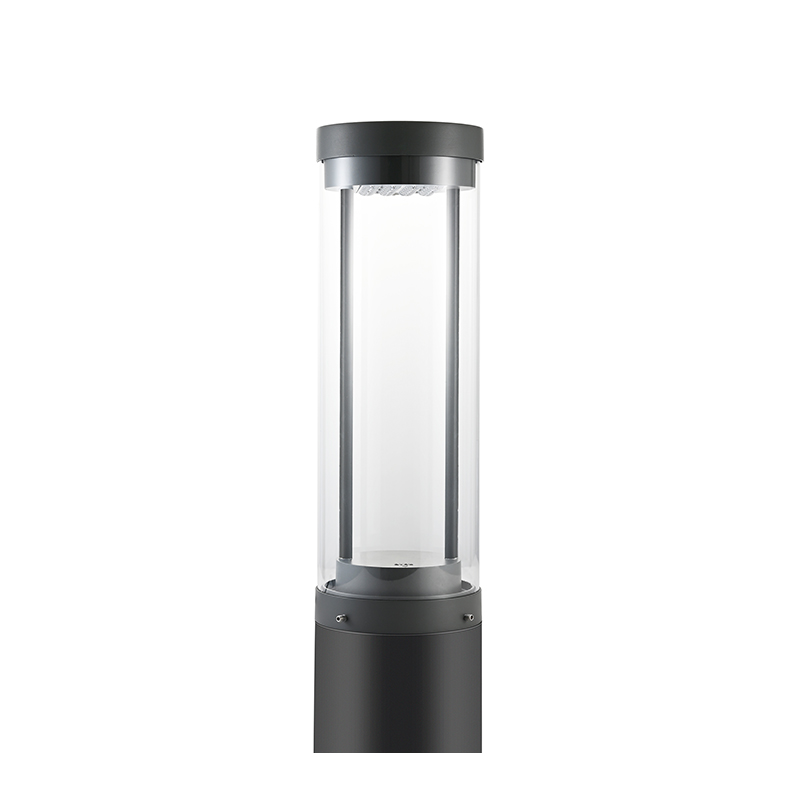
| 12 to 15 ft | Pedestrian edges, cart corrals, low-level landscape borders | Use bollards or low fixtures with sharp cutoff to avoid glare at eye level. |
| 20 to 25 ft | Standard parking bays, aisles, and small commercial lots | Confirm uniformity between poles and check light trespass at the property line. |
| 25 to 30 ft | Large lots, high-activity retail, and sites with fewer pole locations | Review wind load, service access, and glare control before reducing pole count. |
| 30 ft and above | High-mast areas, roadway edges, and very large lots | Use controlled optics and verify maintenance access with a bucket truck. |
Use the table as a scoping tool. A 20 ft pole with a wide Type III or Type IV distribution can cover parking bays efficiently. A 30 ft pole may reduce pole count but can increase glare at the property line. Keep a tolerance in the budget for one relocation after the photometric review, because a 10 ft shift in pole position can change uniformity more than a small wattage change.
Before old fixtures come down, verify the service capacity, breaker space, control scheme, and voltage drop. On a retrofit, existing conduit may be undersized for new conductors or damaged at the handhole. On a new lot, locate utilities, confirm drainage away from pole bases, and keep equipment out of accessible routes. Permits and utility disconnect work should be scheduled before the crew mobilizes.
A frequent purchase risk is ordering fixtures before confirming the pole tenon or mounting interface. A 2.375 in tenon, a 3 in tenon, and a direct burial base are not interchangeable. Keep the fixture, pole, and bracket as one reviewed assembly.
For parking areas, look for IP65 or IP66 protection, die-cast aluminum housings, tempered glass or UV-stable PC lenses, and surge protection appropriate to the site's exposure. A full cutoff or sharp cutoff optic reduces light trespass. Color temperature is a design choice, but 4000K is a common balance for visibility and comfort; 3000K can suit residential edges. If the project will add controls later, specify a NEMA socket or Zhaga interface now rather than retrofitting at height.
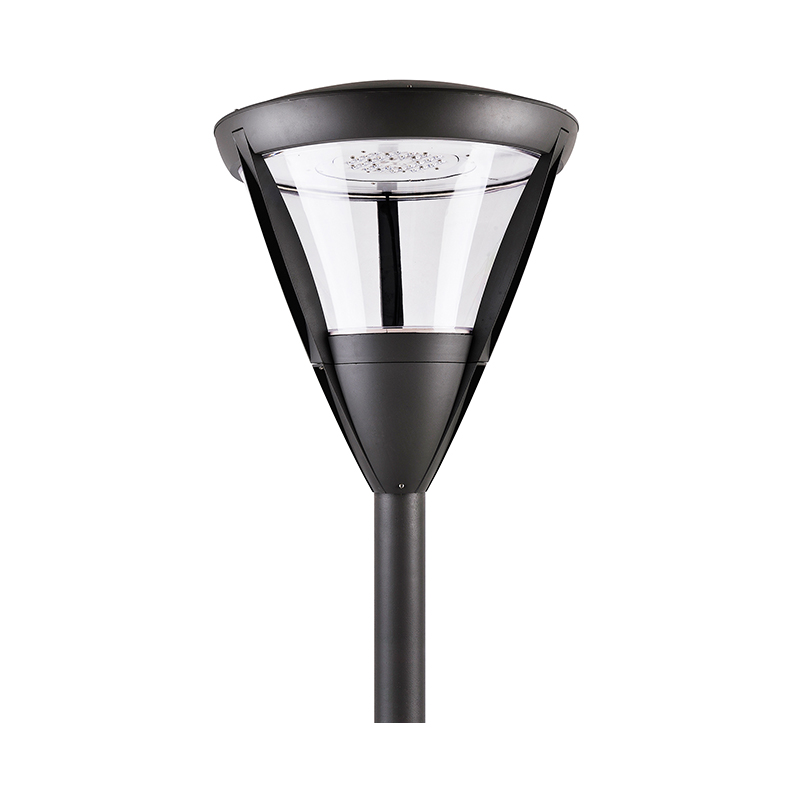
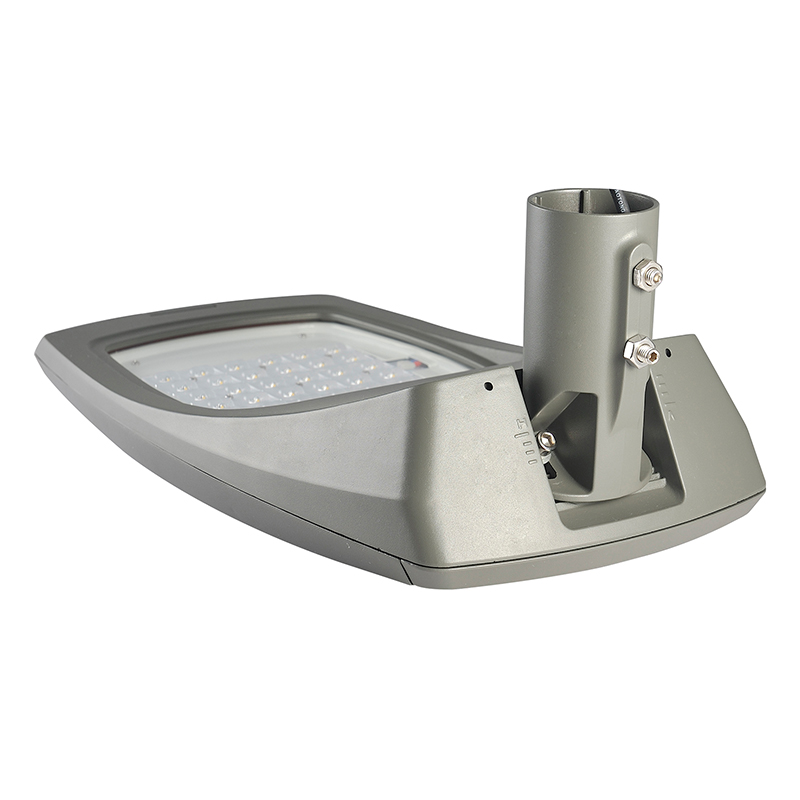 YMLED-6408M Cost-Effective Waterproof LED Street LightCost-effective IP66 LED street light for side roads and park paths, with die-cast aluminum housing and optional NEMA/Zhaga smart controls.View Product →
Wattage alone is a poor selection basis. Compare delivered lumens, distribution, BUG rating, and warranty terms, then check the inrush current against the breaker and contactor. For community roads and parking aisles, a robust IP66 road lamp with a tempered glass cover is a sensible baseline.
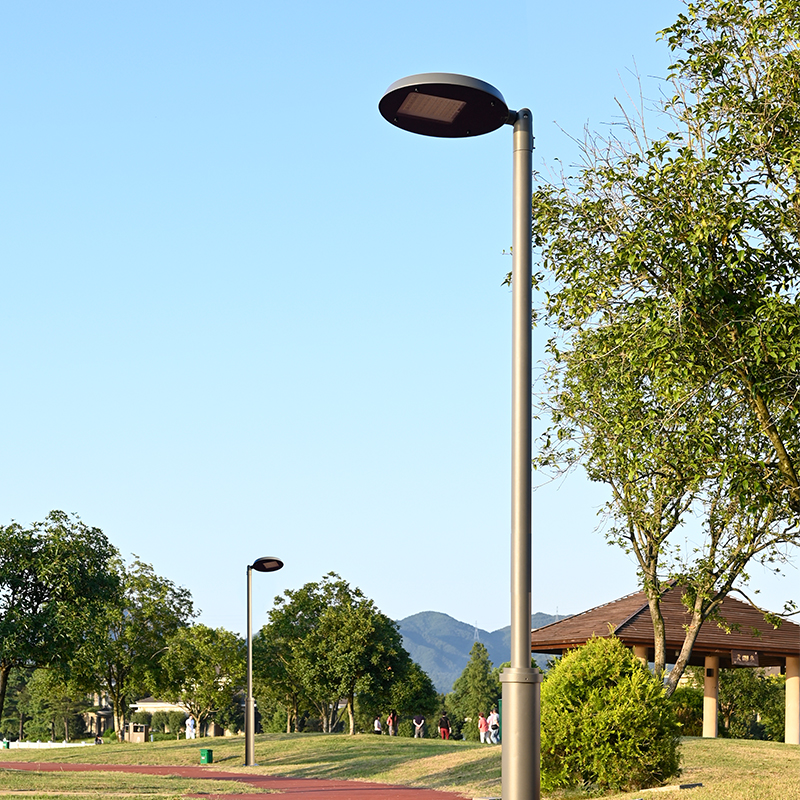 YMLED-6409 Smart-Ready LED Street LightSmart-ready IP66 LED street light with NEMA interface, die-cast aluminum body, IK10 impact resistance, and optional DALI/0–10V dimming and sensors.View Product →
Smart-ready luminaires can be useful where the owner wants dimming schedules, fault reporting, or utility incentives. The control module should be serviceable from a bucket truck or ground-level access point, not sealed behind a trim that requires disassembly.
The pole is part of the optical system. A leaning pole changes aim; a loose anchor bolt changes wind performance. Confirm the bolt circle, base plate orientation, and handhole direction before pouring concrete. Use hot-dip galvanized steel for exterior exposure and check the coating at welds and threaded areas. Compact soil around the foundation and grade it so water runs away from the base.
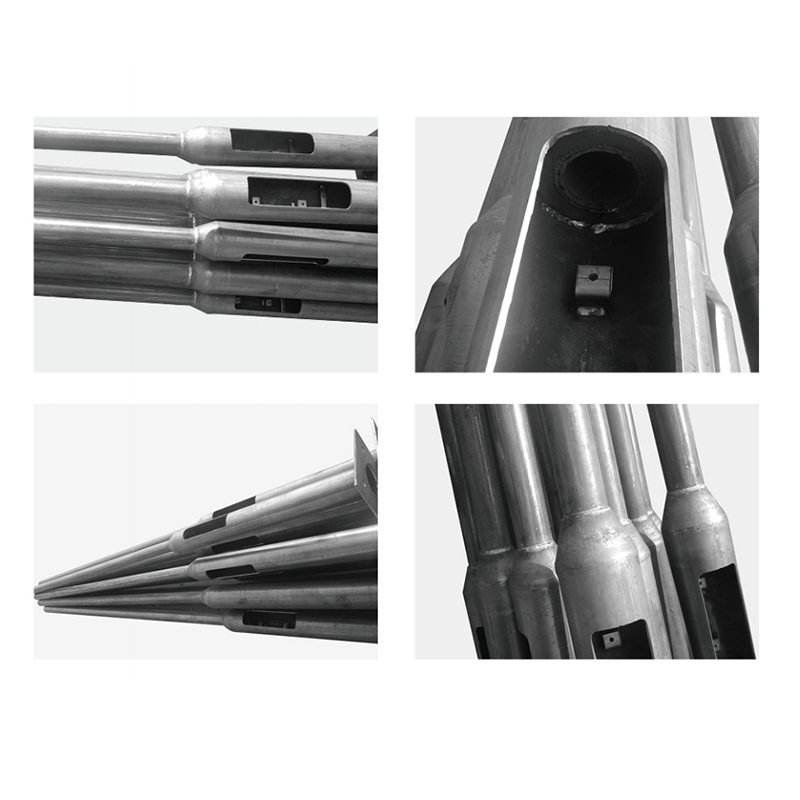 Pola PA Series Galvanized Round Lighting PoleHot-dip galvanized round lighting pole for 3–4 m outdoor road, park, and square installations, with double anti-corrosion protection and 36 m/s wind resistance.View Product →
Torque anchor bolts to the engineer's specification after the concrete has cured, not the day after pouring. Check verticality with a level in two directions. Ground the pole and fixture per the electrical plan, and leave a service loop long enough for future maintenance. If the lot is in a high-wind or coastal area, the pole and fixture must be reviewed as a combined wind load, not separate catalog items.
Conductor size is not only about steady-state current. Long runs and high-inrush LED drivers can cause voltage drop and nuisance trips. Keep voltage drop within the engineer's limit, balance phases, and torque all terminations. Use labeled circuits and a clear panel schedule. Photocells, time clocks, and contactors should be accessible without opening a fixture.
Commissioning should include a night inspection. Walk the lot with a light meter or the approved measurement plan, check uniformity between poles, confirm aim, and look for glare from the entrance drive, adjacent homes, and security cameras. Cameras often need less light than people expect, but they need even light. Record as-built settings, control schedules, and spare parts before handover.
Plan access before the first service call. A 25 ft pole may need a bucket truck; a bollard can be serviced on foot. Keep a small spare-parts allowance, especially for lenses, drivers, and control modules. Inspect gaskets and drain holes after the first heating and cooling cycle, then annually. In cold climates, check for salt damage and water trapped at the pole base. In hot climates, check driver compartment temperature and lens yellowing.
When a standard fixture almost fits, custom wattage, beam angle, finish, or pole interface can save a project from adapters and field modifications. Yuyao Yangming Lighting has produced outdoor lighting since 2001 and offers garden, street, lawn, footpath, wall, solar, pole, and LED module products from its own factory. That vertical range helps coordinate the luminaire, pole, and mounting detail. You can learn more about the manufacturer and its production background.
Send the photometric plan, mounting height, tenon size, voltage, control requirements, and target delivery date together. A manufacturer can then confirm the fixture build and flag conflicts early. For projects that need a modified or private-label solution, start with the project requirements and a sample schedule, then discuss the project with the factory before the pole and fixture order is released.
Related Products
 Private Industrial Park, Liangnong Town, Yuyao City, Ningbo City, Zhejiang Province, China
 +86-13486062091
 +86-574-2222 2345
 +86-574-2267 2345
 info@ym-lighting.com


 English
 中文简体