Nov, 06, 2026
A crew sets a 30 ft pole, lifts two shoebox fixtures onto the arms, and discovers the arm spread is nearly three feet narrower than the photometric layout assumed. The concrete is already cured. Nobody wants to dig it up, so the lighting plan gets redrawn around a bracket nobody measured.
That situation is avoidable, and the fix is not expensive. A light pole bullhorn is a simple steel bracket, but it locks in four numbers that decide whether the fixtures land where the design says they should: tenon diameter, arm spread, riser height and finish. Get those four into a drawing before fabrication, and the installation becomes routine.
This guide explains what a bullhorn bracket does, which dimensions carry real consequences, where low-cost brackets usually fail, and how to write an order that a factory can build without guesswork.
Content
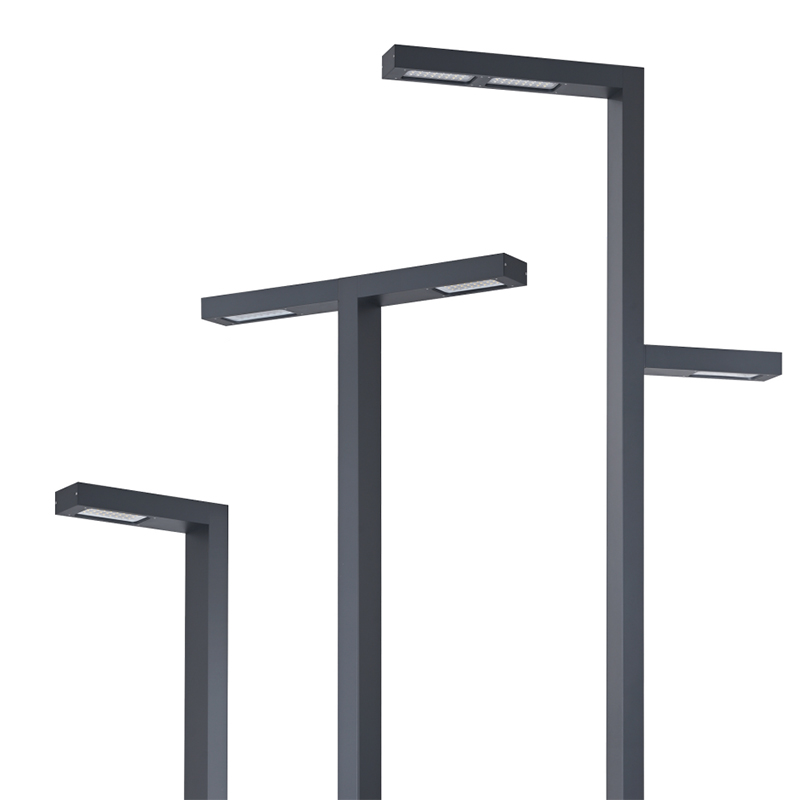
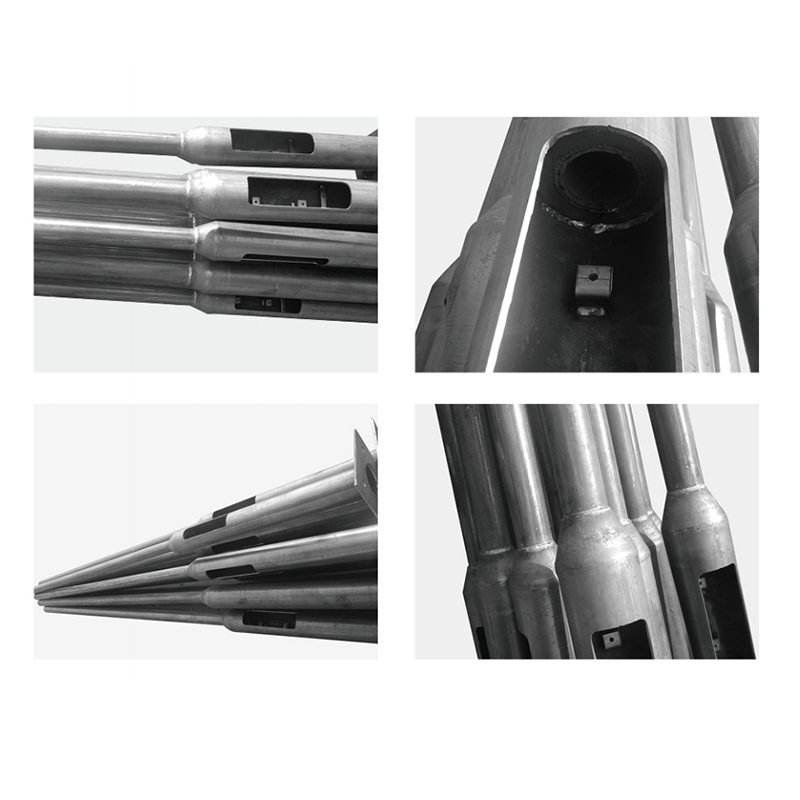
A bullhorn is a bracket mounted at or near the top of a pole. It has a vertical riser that connects to the pole, and two or four horizontal arms that branch outward like horns. Each arm ends in a mounting interface, usually a short tenon that a fixture slip fitter slides over, or occasionally a flat plate with a bolt pattern for fixtures that mount directly.
The name is colloquial. In drawings and purchase orders you will also see it called a double arm bracket, quad arm bracket, tenon bracket, cluster arm, or mast arm depending on the region. All of them describe the same component family, and all of them are specified the same way: by interface dimensions rather than by name.
Two construction types dominate the market:
For either type, the bracket and the pole should come from the same supplier. When they do not, somebody has to confirm that the riser socket matches the pole top, and that confirmation often happens after the pole has already been galvanized.
Two poles cost twice as much as one pole plus a bracket in almost every line of the estimate: excavation, concrete, anchor bolts, setting labor, and the parking bay or sidewalk footprint that each pole consumes. A single pole with a four-arm bullhorn puts four luminaires over a larger area from one foundation.
There are design benefits too. Aiming two fixtures on one bracket gives better control of light trespass at a property line, because the outer arm can be set slightly inward or fitted with a shielded optic. In parking lots, fewer poles also means fewer collision risks and less conflict with curbs, islands and drainage.
The trade-off is structural. A bullhorn increases the effective wind area and shifts the load upward, so the pole wall thickness, base plate and anchor bolts must be checked against the bracket and fixtures together, not as separate line items. Projects that specify a pole with no allowance for a four-arm bracket often discover this during shop drawing review.
The values below are common practice rather than universal standards. Treat them as a starting point and confirm every line against the project drawings and the fixture cut sheets.
| Parameter | Typical range | Consequence if wrong |
|---|---|---|
| Tenon outside diameter | 2 3/8 in (60 mm) or 3 in (76 mm) | Fixture slip fitter will not seat or will wobble; set screws cannot clamp |
| Exposed tenon length | 2 to 4 in beyond the arm tip | Too short for set screws and leveling; too long leaves a visible stub |
| Arm spread, tip to tip | 4 to 12 ft depending on mounting height | Luminaires miss the target zone, or overhang a roadway edge |
| Riser height above pole top | 6 to 36 in | Head height rises with lamp count; photometric values shift |
| Arm angle | Level to about 15 degrees upward | Changes aiming and increases projected wind area |
| Arm wall thickness | 2.5 to 4 mm for steel arms | Visible flex during installation, fatigue at the weld toe over time |
| Pole top socket or flange | Matched to riser, with bolt circle | Bracket arrives and cannot be fitted on site |
| Finish system | Hot dip galvanized, optional topcoat | Rust blooming at welds within the first wet season |
One detail deserves its own line on the drawing: the rotational position of the arms relative to the pole handhole and to the base plate bolt pattern. A four-arm bracket clocked 30 degrees off can put a fixture over a traffic lane, and correcting it after galvanizing means redrilling or remaking the part.
Bullhorns fail in three places, and all three are visible in a factory audit before shipment.
The first is the weld at the arm-to-riser joint. That joint carries the full cantilever load of the fixture plus wind, and it is the hardest place to inspect once the pole is up. Look for a continuous weld with a reasonably smooth toe, not a spot tack dressed with paint. Ultrasonic testing is rarely specified for small brackets, but a visual check of every joint is cheap and quick.
The second is galvanizing coverage inside the tube. Hot dip galvanizing to ASTM A123 requires minimum coating thickness that rises with steel thickness, roughly 45 to 86 microns depending on section. Sealed hollow sections need vent and drain holes so the zinc can flow and air can escape; without them, the interior stays bare and condensate starts rusting from the inside within a season or two. Confirm that the fabrication drawings show venting before the parts go to the galvanizer.
The third is the interface between galvanized steel and the fixture. Zinc is soft, and a slip fitter clamped onto a thick zinc layer can work loose in service. Some projects specify a machined or masked tenon so the set screws bear on bare steel, which holds torque far better.
The bracket does not need to match a lighting layout; the fixtures do. What the bracket must handle is the physical load and the mounting geometry.
Ask the fixture supplier for three figures per luminaire: weight, effective projected area in square feet or square meters, and the slip fitter or mounting pattern dimensions. Multiply by the number of arms and check the total against the pole supplier's published load capacity at the specified mounting height. A 40 ft pole rated for two 25 lb fixtures is not automatically rated for four, even if the fixtures are identical.
Mounting height drives arm spread. Where layouts call for a spacing-to-height ratio of roughly 3 to 1 over a parking area, a wider arm spread lets one pole serve a wider bay without raising the pole. Where the design wants a tighter, more uniform pool of light under each fixture, narrower arms keep the two luminaires from competing. Neither choice is better in the abstract; both need the photometric calculation behind them.
Also decide in advance whether the arms will carry any extra equipment. Small cell antennas, cameras, banner arms and solar panels all add load and wind area, and retrofitting them onto an unreinforced bracket is a common cause of complaints three years after handover.
Most disputes on this component trace back to item one. When the drawing is clear, the remaining risk sits with the factory, which is where it belongs.
Yuyao Yangming Lighting has manufactured outdoor lighting since 2001, working across garden lights, street lights, lawn and footpath lights, wall lights, solar lighting and LED modules, alongside a separate light pole line. That combination matters here, because the pole and the bullhorn can be engineered as one assembly instead of two purchases that meet for the first time on site.
The pole range covers round, square and conical sections in hot dip galvanized steel, with customization available on height, wall thickness, base plate and top connection. Typical applications include community roads, park paths, plazas and residential projects where a stable, repaint-free finish matters more than a decorative look.
 Pola PA Round Hot-Dip Galvanized Street Lighting PolePola PA round hot-dip galvanized pole light for straightforward street and area lighting, offered in 3–4 m heights with standardized mounting.View Product →
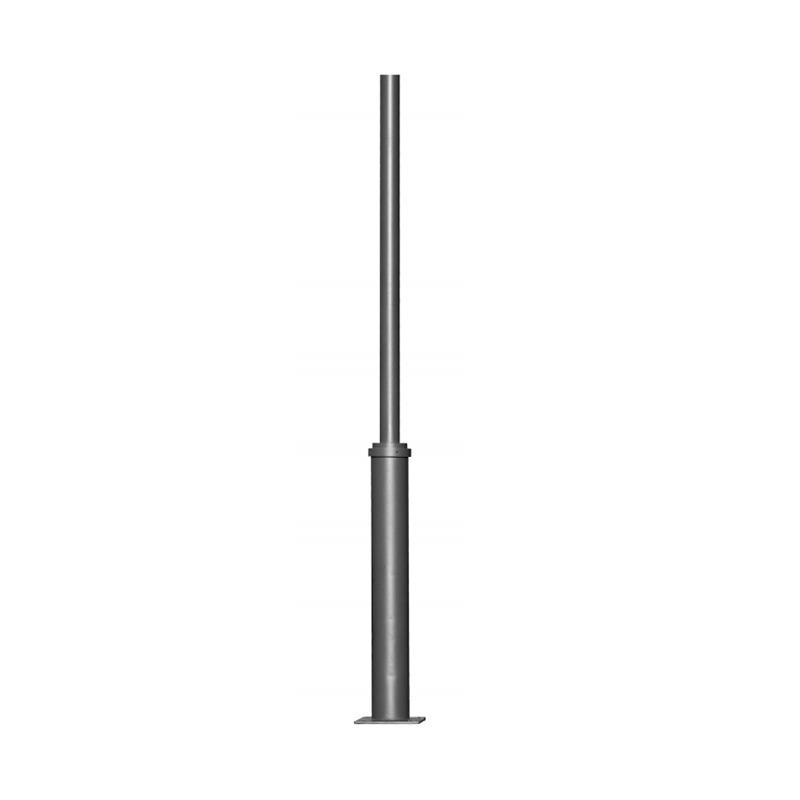 Pola PB Customizable Post-Top Outdoor Lighting PolePola PB customizable post-top pole for outdoor lighting, with fully welded hot-dip galvanized construction and 3–4 m heights for non-standard project connections.View Product →
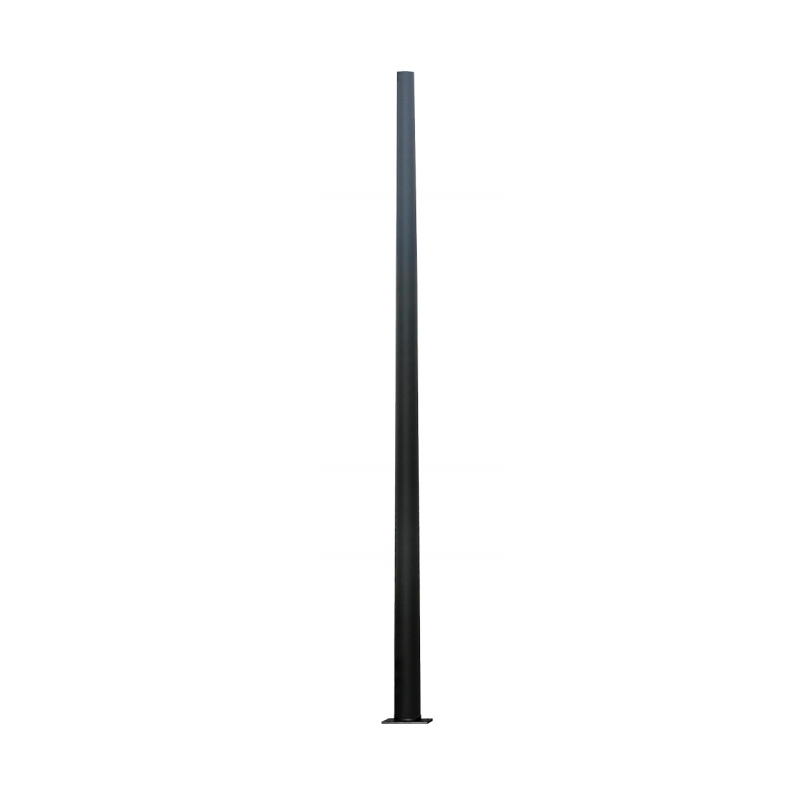 Pola PC Conical Hot-Dip Galvanized Lighting PolePola PC conical galvanized lighting pole, available from 4 to 7 m, suits entrance roads and plazas where visual profile and structural duty both matter.View Product →
The round pole series suits straightforward street and area lighting where a conventional tenon top is enough. The customizable series is the one to look at when a project needs a non-standard top connection, an unusual base plate or a specific arm configuration. The conical series is often chosen where the visual profile of the pole matters as much as the structural duty, such as entrance roads and public plazas.
Because the same factory produces the luminaires, the bracket is checked against real fixture weights and slip fitter dimensions rather than generic assumptions. Buyers who want to understand the manufacturing setup and quality controls can review the background on the Yangming Lighting company profile, which covers factory area, export markets and certification.
A bullhorn is one of the cheapest items on a lighting package and one of the most expensive to correct. The practical sequence is short: fix the fixture first, then the tenon and arm geometry, then the pole and foundation, and put all of it on one drawing that both the buyer and the factory sign off.
If you are preparing a tender or comparing quotes, send the fixture data and the site wind requirement together. A quotation built on real numbers is worth more than three built on a photo of a pole. The team can be reached through the contact page for drawings, sample specifications and lead time confirmation.
Related Products
 Private Industrial Park, Liangnong Town, Yuyao City, Ningbo City, Zhejiang Province, China
 +86-13486062091
 +86-574-2222 2345
 +86-574-2267 2345
 info@ym-lighting.com


 English
 中文简体