Oct, 16, 2026
A club that adds night play for a weeknight league usually discovers in the first season that the luminaires are not the hard part. Pole positions, aiming angles and how much light reaches a player standing over a putt decide whether the course feels playable after dark. A generous lux number spread across a whole fairway can still leave players calling the course uncomfortable.
The practical conclusion first: treat golf course lighting as three separate problems, give each one its own photometric target, and match fixture, pole and optics to that target. The full fairway rarely needs light. The tee, the landing zone, the green and the route between them carry the play, and that is where the budget belongs.
Content
Split the property into zones with different jobs before any fixture is quoted. Each zone has its own mounting height, beam shape and glare limit.
The split matters because of eye adaptation. A player's vision adjusts to the brightest surface in view, so one over-lit clubhouse wall or an unshielded pole behind a green can make a correctly lit putting surface feel dim. Lighting the perimeter at 20 to 30 lux rather than 150 lux is often the cheapest single improvement on a night golf project.
Recreational and league night golf sits well below tournament or broadcast levels. The values below are indicative starting points for a photometric design, not a substitute for one.
| Area | Maintained illuminance | Uniformity (min to average) | Notes |
|---|---|---|---|
| Putting green and approach | 200 to 300 lux | 0.5 or better | Highest priority; slope and shading must stay readable |
| Tee box | 150 to 200 lux | 0.5 or better | Even light under the player, no view of the source |
| Fairway landing zone | 100 to 200 lux | 0.4 to 0.5 | Light the landing area, not the full fairway length |
| Driving range hitting area | 200 to 300 lux | 0.5 or better | Target greens and markers can sit lower |
| Cart path and walkway | 20 to 50 lux | 0.25 to 0.3 | Vertical illuminance at eye height is the real test |
| Parking and access road | 20 to 50 lux | 0.25 to 0.3 | Keep glare away from the first tee and nearby housing |
Average illuminance alone says little. A green at an average of 250 lux with a bright pool on one edge and a dark pocket on the other reads worse than an even 200 lux. Uniformity of 0.5 or better on greens and tees, and 0.4 on landing zones, keeps the ball and the turf edge visible.
Glare control is mainly aiming and shielding. Asymmetric optics, visors and louvers let a pole light a landing zone without throwing a beam into a sight line. Aiming across the play area rather than along it, and keeping the source out of the line between a player's eye and the target, matters more than a small change in output.
Most night golf installations settle at 4000 K or 5000 K. Above roughly 5700 K the light turns blue, which raises perceived glare and slows the eye's return to dark adaptation. A CRI of 70 to 80 is enough to separate a white ball from turf and read green contours, and consistent color temperature across all holes avoids a patchwork look. For filmed play, specify flicker-free drivers.
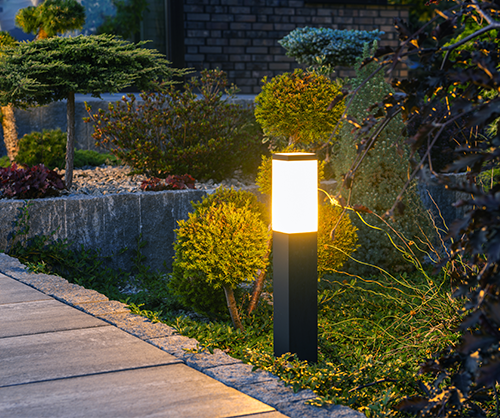
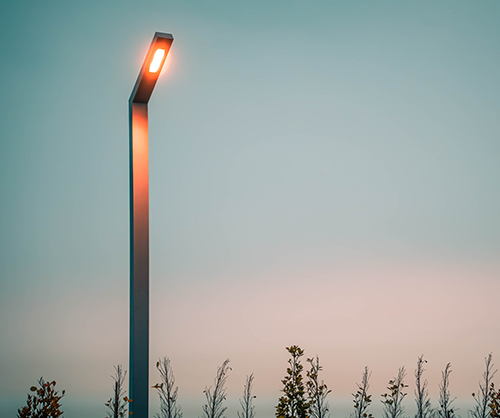
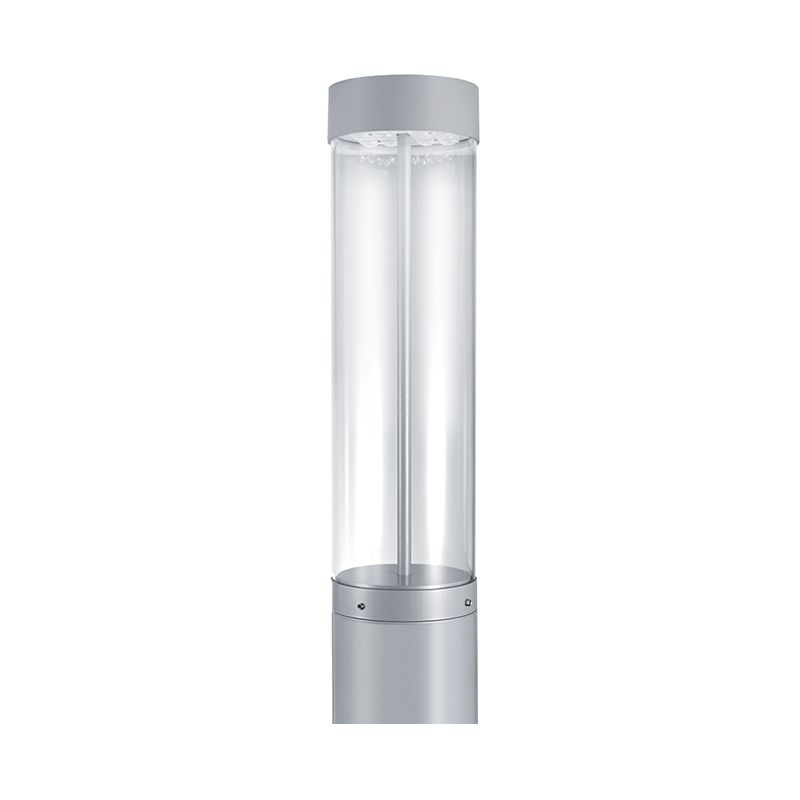
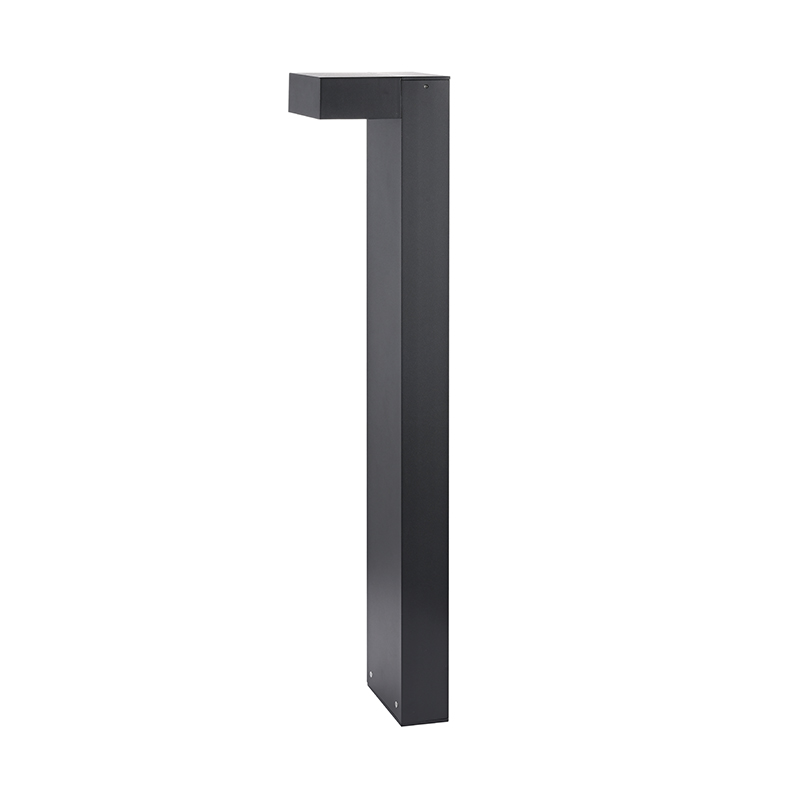
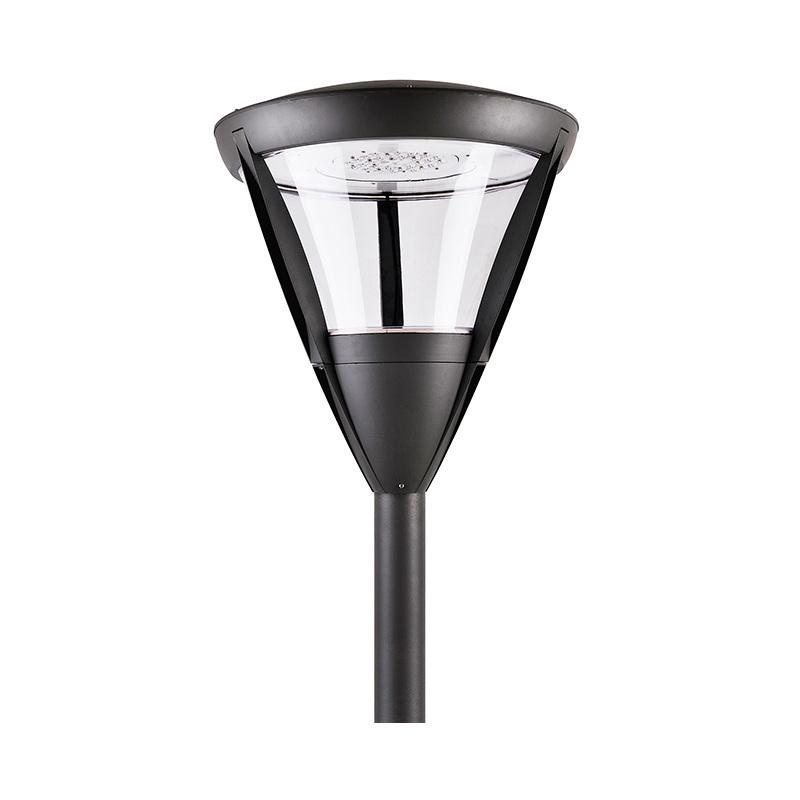
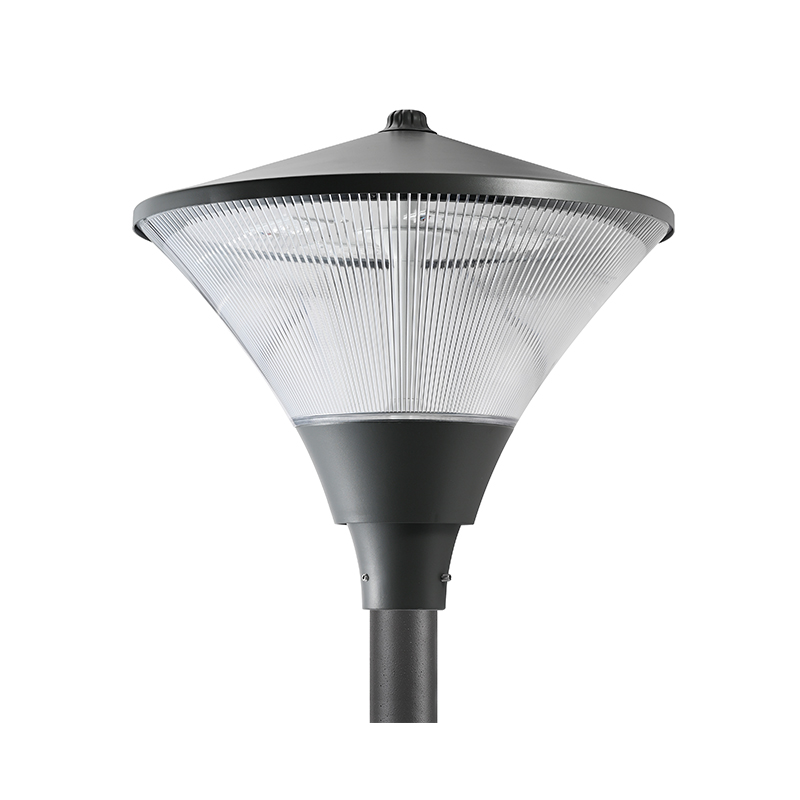
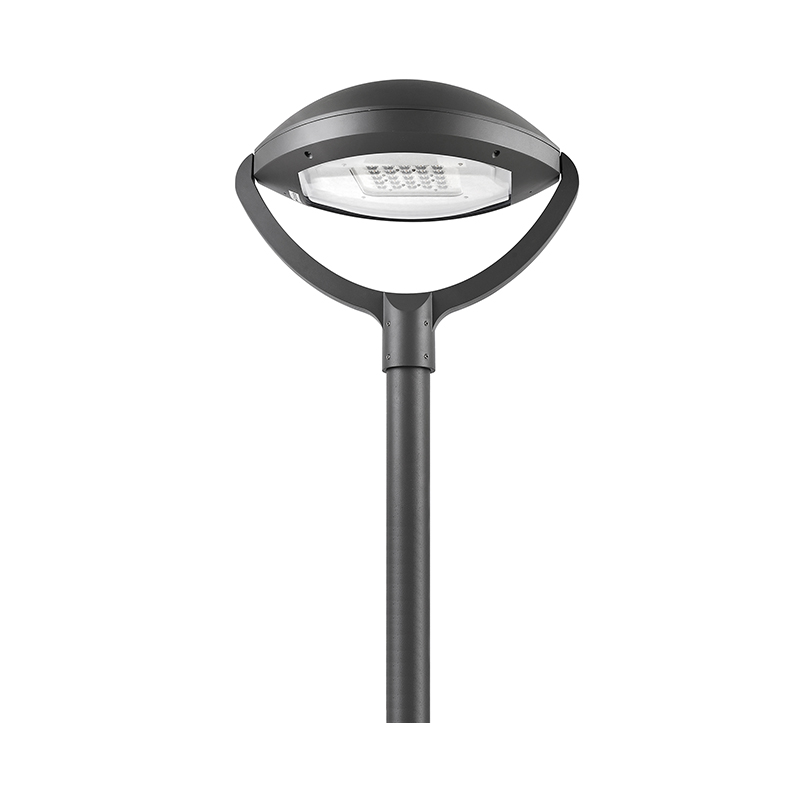
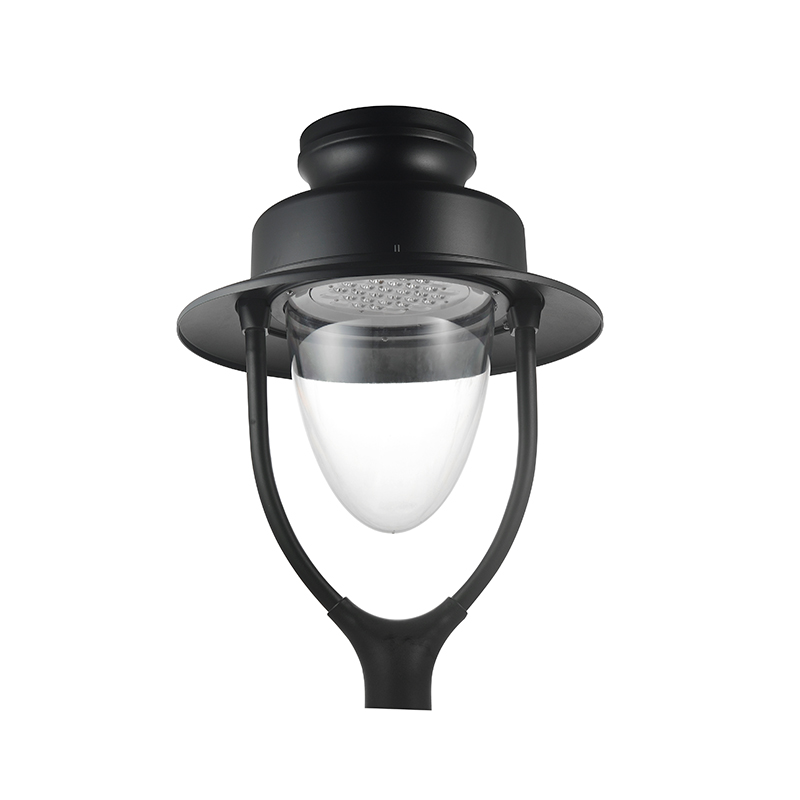
Pole layout drives cost and glare together. Fairway and green lighting commonly uses poles of 9 to 12 meters, which places the source far enough from the player's eye to reduce discomfort while still meeting uniformity targets with fewer positions. Cart paths run lower, with bollards at 0.6 to 1 meter, while clubhouse surrounds and parking islands use post-top fittings at 3 to 5 meters.
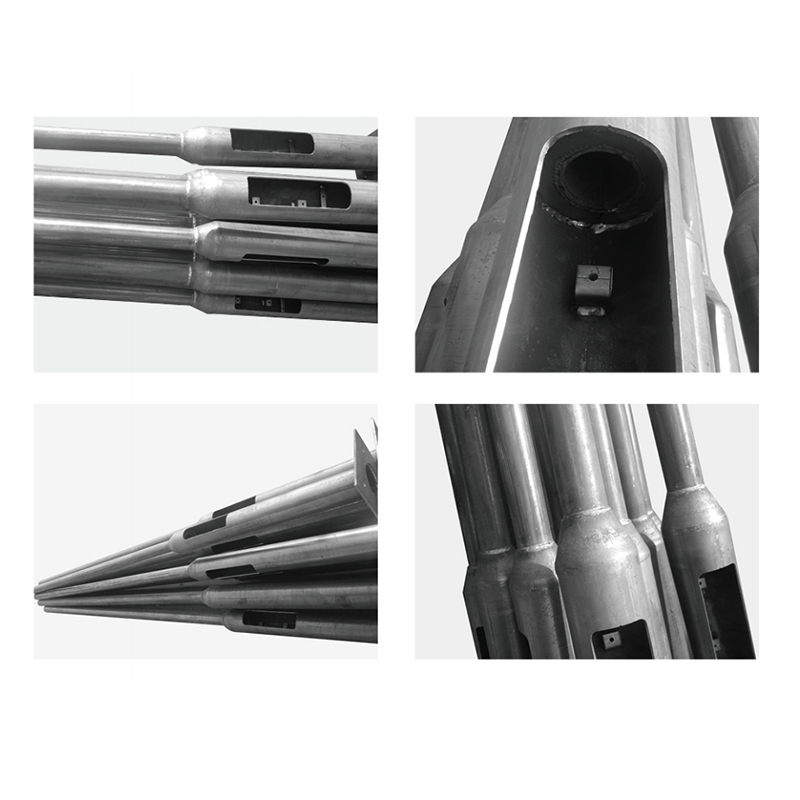 Pola PA Series Hot-Dip Galvanized Round Lighting PolesConical steel poles from 3 to 4 meters with hot-dip galvanizing, powder coating, and wind resistance up to 36 m/s for outdoor road lighting.View Product →
Two details decide whether a pole installation lasts a decade. Hot dip galvanizing to a specified thickness, typically 70 microns or more, protects the steel where a stone chip would start corrosion, and the foundation should be sized from a wind load calculation supplied with the pole drawing rather than improvised on site.
Electrically, an open course is a hard environment. Surge protection rated at 10 kA or more at the driver, proper earthing, and residual current protection on each circuit are baseline requirements. Splitting luminaires into circuits by hole keeps one fault from darkening half the course.
Once the targets are set, fixture selection becomes a matter of matching housing, optics and ingress protection to the zone rather than comparing raw wattage.
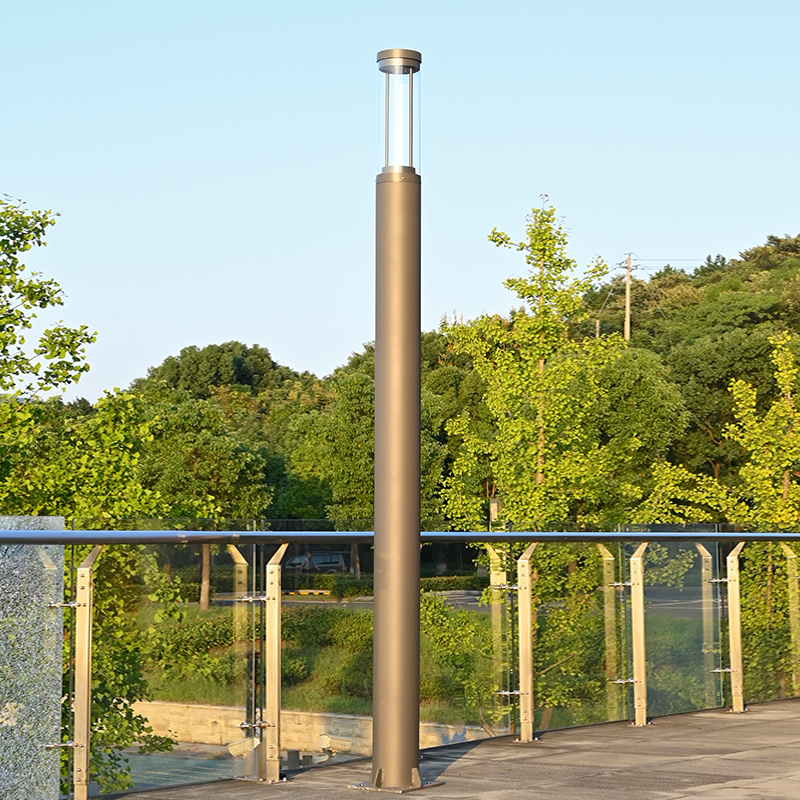 YMLED-6308 Customizable Outdoor LED Pathway LightDie-cast aluminum pathway fixture with PMMA optics, IP66/IK08 protection, and optional dimming or sensor sockets for parks and residential paths.View Product →
Where a club plans dimming schedules or fault reporting later, luminaires that accept a control socket are worth the small price difference. A photocell covers dusk to dawn switching today, and the same socket can take a smart node tomorrow without changing the fixture.
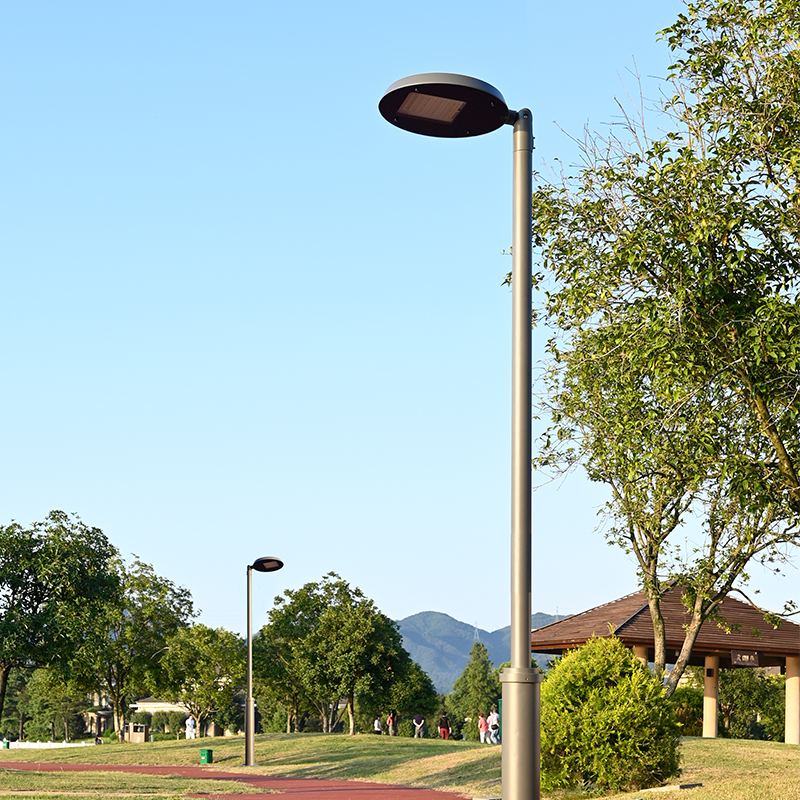 YMLED-6409 Smart LED Street Light with NEMA SocketAluminum street luminaire rated IP66/IK10, offering selectable LEDs and optional DALI dimming or NEMA/Zhaga control for smart outdoor lighting.View Product →
Serviceability is the item most often left out of a specification. Replaceable LED modules with their own lens and gasket turn a failed light engine into a short swap from a ladder, and one spare module type can cover several fitting families across the course.
Solar fittings earn their place where trenching would cost more than the luminaire, such as a distant tee, a perimeter path or a range bay at the edge of the property. Before accepting a solar proposal, check battery autonomy, normally two to three nights of reserve; panel output at the site's winter insolation rather than peak summer; and the dimming profile, because a fixture running at full output all night needs a much larger battery.
Controls should follow how the course is used. A photocell with a time clock covers most clubs. Where leagues finish at a known hour, dimming play areas to around 30 percent afterwards cuts energy use and reduces complaints about light trespass from neighboring properties. Zoned control by hole lets staff light only the holes in play on a quiet evening.
Most night golf problems that appear two years after installation trace back to information nobody requested at the quotation stage. Ask for the following in writing.
Golf course lighting bundles product families that are often bought from separate suppliers: play area floodlights, path bollards, post-top garden lights, wall lights, street lighting for parking and access roads, poles and spare LED modules. Sourcing them from one manufacturer simplifies color consistency, spare parts and shipping, especially when the work happens in phases.
Yuyao Yangming Lighting, which trades as Yangming Lighting, has manufactured outdoor lighting in the Ningbo area since 2001, covering garden, street, lawn, footpath and wall lighting as well as LED modules and poles, with its own workshop and warehouse. Background on the factory is on the company profile page.
Send the layout drawing, target illuminance by zone, the pole heights you can accommodate and the certifications your market requires, then review photometric files and a simulation before committing to hardware. Custom housing colors, wattages, beam angles and control options are normal parts of the conversation and are easier to settle before the order than after it. To discuss a specific course or request a quote, start on the contact page.
Related Products
 Private Industrial Park, Liangnong Town, Yuyao City, Ningbo City, Zhejiang Province, China
 +86-13486062091
 +86-574-2222 2345
 +86-574-2267 2345
 info@ym-lighting.com


 English
 中文简体
中文简体